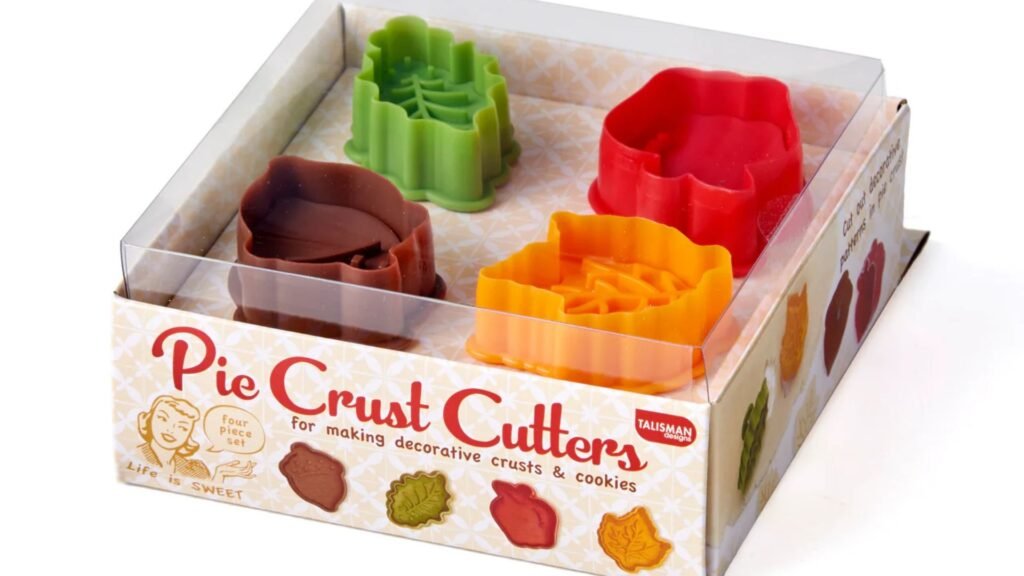
Pastry cutters are simple yet powerful tools for adding creative designs to your baked goods. Whether you’re making cookies, pies, tarts, or savoury pastries, these cutters allow you to shape dough into beautiful patterns and enhance the presentation of your treats. Using pastry cutters for decoration can elevate the visual appeal of your baked goods, making them look as good as they taste. In this guide, we will walk you through how to use pastry cutters effectively, offer tips for creating decorative designs, and share some fun ideas for incorporating them into your baking projects.

Types of Pastry Cutters
There are several types of pastry cutters available, each designed for different decorative purposes. Understanding the types and their uses will help you choose the best one for your specific project.
Traditional Round Cutters
- Description: These are the most common pastry cutters, typically made from metal or plastic. They come in a variety of sizes, allowing you to create uniform round shapes.
- Uses: Perfect for cutting cookies, biscuits, and pie crusts. They are also great for cutting uniform dough shapes for assembling tarts or mini pies.
Cookie and Pie Cutters with Decorative Edges
- Description: These cutters feature intricate designs on the edges, such as scalloped, zigzag, or crimped edges, that add texture to your dough.
- Uses: Ideal for creating decorative pie crust edges or unique cookie designs. These cutters create visually appealing patterns that enhance the overall look of your pastries.
Shape Cutters
- Description: These cutters come in a variety of shapes such as hearts, stars, flowers, or animals. Some even feature seasonal designs like pumpkins, snowflakes, or leaves.
- Uses: Great for creating themed cookies, decorating the tops of pies, or making playful accents for your pastries.
Plunger Cutters
- Description: Plunger cutters allow you to cut and release shapes easily. These are often used for more intricate designs and are available in various shapes, including flowers and leaves.
- Uses: Perfect for creating detailed shapes for cookies, fondant decorations, and pie designs.
Embossing Cutters
- Description: These cutters not only cut the dough but also imprint a design on it, creating a raised pattern or texture.
- Uses: Great for adding intricate designs to cookies, tarts, or pie crusts. They can be used for both decorative and functional purposes, such as marking the center of pies or adding texture to dough before baking.
How to Use Pastry Cutters for Decorative Designs
Using pastry cutters is simple, but a few tips can help you achieve professional-looking results.
Step 1: Roll Out the Dough Evenly
- Start by preparing your dough and rolling it out to the desired thickness. For most decorative designs, aim for a thickness of about ¼ inch (6mm).
- Use a rolling pin with adjustable guides or a dough roller to ensure an even thickness throughout the dough. An uneven dough can cause some parts of your design to be misshapen or underbaked.
Step 2: Flour the Pastry Cutter
- Before using a pastry cutter, lightly flour the cutter’s edges and the surface of the dough. This helps prevent the dough from sticking to the cutter.
- You can also lightly flour the dough itself to prevent it from adhering to the rolling pin and the work surface.
Step 3: Press Down Firmly
- When using the cutter, press down firmly but not excessively. A quick, even press ensures a clean cut through the dough without stretching it out of shape.
- For intricate cutters like embossing or plunger cutters, make sure you press firmly enough to leave a clear design or imprint.
Step 4: Carefully Remove the Cut Dough
- Once you’ve cut out your shapes, gently lift them off the work surface using a spatula or your fingers. For more delicate shapes, you can use a small offset spatula to avoid distorting the design.
- If you’re making pie crusts or tart shells, gently transfer the dough into your pan or tart shell, taking care not to stretch the dough.
Step 5: Chill the Dough (Optional)
- If your dough becomes too soft while working with it, place it back in the fridge for a few minutes to firm up. This is particularly important for designs that need to maintain their shape during baking.
- Chilled dough also helps with clean cuts, especially for intricate patterns.
Step 6: Bake and Finish
- Once you’ve arranged your cutouts on a baking sheet or pie, bake according to your recipe’s instructions.
- For added decoration, consider dusting your cookies or pastries with powdered sugar after baking or glazing them with a sweet syrup.
Conclusion
Pastry cutters are versatile tools that can turn ordinary pastries into beautifully designed creations. By using these cutters to add shapes, textures, and details to your dough, you can take your baking to the next level. Whether you’re making cookies, pies, or tarts, a few simple decorative designs will make your treats stand out and add that extra special touch. Happy baking and decorating!

Undeniably believe that which you stated. Your favorite reason appeared to be on the net
the simplest thing to be aware of. I say to you,
I definitely get irked while people think about worries that they plainly don’t know about.
You managed to hit the nail upon the top as well as defined
out the whole thing without having side effect , people could take a signal.
Will likely be back to get more. Thanks