

Pastry shells are the foundation of many delicious desserts, from fruity tarts to creamy pies. A perfectly made pastry shell provides the right texture and flavour to complement your fillings, whether sweet or savoury. Learning how to make pastry shells from scratch can elevate your dessert game and impress your guests with flaky, buttery goodness.In this guide, we’ll show you how to make pastry shells step by step, tips for perfect results, and ideas for filling them with your favourite sweet fillings.
Types of Pastry Shells
Before diving into the steps, it’s important to know the different types of pastry shells commonly used in desserts:
Shortcrust Pastry
This is the most common type of pastry for dessert shells. Shortcrust pastry is rich, crumbly, and buttery, and it’s perfect for tarts and pies. It’s made using a simple ratio of fat, flour, and a little water or egg.
Pâte Brisée
This French pastry is a type of shortcrust pastry but with a slightly more delicate texture. It’s often used for savory and sweet pies.
Puff Pastry
Puff pastry is light, flaky, and buttery. It’s used for desserts like vol-au-vents or mille-feuille. This dough requires more time and technique to prepare, as it involves layers of dough and butter folded together.
For making dessert shells, shortcrust pastry is typically the best choice, but you can also use puff pastry for a different texture.
Ingredients for Shortcrust Pastry Shells
Here are the basic ingredients for making a shortcrust pastry shell:
- 1 ¼ cups all-purpose flour
- ½ cup (1 stick) unsalted butter, cold and cut into small cubes
- ¼ cup granulated sugar (for sweet pastry) or a pinch of salt (for savory pastry)
- 2-3 tbsp cold water (or cold egg yolk for a richer pastry)
Steps to Make Pastry Shells for Desserts
Step 1: Prepare Your Ingredients
- Make sure the butter is cold, as this will help create a flaky texture.
- Sift the flour to remove any lumps, especially if it’s been stored for a while.
Step 2: Combine Flour and Butter
- In a large mixing bowl, combine the flour and sugar (if using). Add the cold butter cubes to the bowl.
- Use a pastry cutter, two forks, or your fingertips to cut the butter into the flour. Work quickly so the butter stays cold.
- Continue until the mixture resembles coarse crumbs or small peas. This is a sign that the butter is well incorporated and the pastry will be flaky.
Step 3: Add Cold Water or Egg Yolk
- Slowly add the cold water, one tablespoon at a time, mixing gently with your hands or a spoon until the dough begins to come together.
- If you want a richer pastry, you can substitute some of the water with egg yolk.
- Be careful not to overwork the dough. If you add too much water or knead it too much, the pastry will become tough rather than tender and flaky.
Step 4: Chill the Dough
- Form the dough into a disc, wrap it in plastic wrap, and refrigerate it for at least 30 minutes to an hour.
- Chilling the dough will relax the gluten, making it easier to roll out, and also help maintain the cold butter necessary for a flaky texture.
Step 5: Roll Out the Dough
- After the dough has chilled, lightly flour your work surface and rolling pin.
- Roll out the dough to about ¼-inch thickness, rotating the dough occasionally to ensure an even shape. If the dough becomes too soft or sticky, return it to the fridge for a few minutes.
Step 6: Fit the Dough Into the Tart or Pie Pan
- Once the dough is rolled out, carefully transfer it to your tart or pie pan. You can roll it up on the rolling pin and then unroll it over the pan.
- Gently press the dough into the corners of the pan, being careful not to stretch it. Trim any excess dough with a sharp knife, leaving about ½ inch of overhang.
Step 7: Blind Bake (If Necessary)
If your pastry requires blind baking (for fillings like custard or cream that do not bake with the crust), follow these steps:
- Line the pastry shell with parchment paper or aluminum foil.
- Fill it with pie weights, dried beans, or rice to prevent the dough from puffing up while baking.
- Bake in a preheated oven at 375°F (190°C) for about 10-15 minutes.
- Remove the paper and weights and bake for another 5-10 minutes until the shell is golden and fully set.
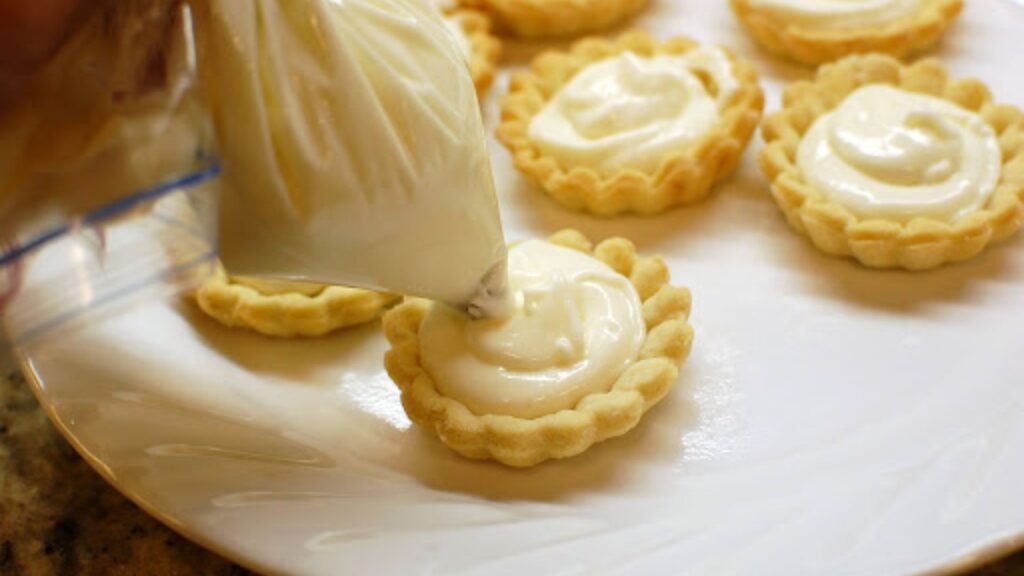
Step 8: Cool the Pastry Shell
- Allow the baked pastry shell to cool completely before adding your filling. This will help prevent the crust from becoming soggy.
Conclusion
Making your own pastry shells for desserts is a rewarding skill that opens up a world of creative possibilities. Whether you’re making a fruit tart, a decadent chocolate dessert, or a classic pie, a perfectly baked pastry shell will provide the foundation for a delicious treat. By following the simple steps outlined in this guide, you’ll be able to create crisp, flaky, and buttery pastry shells every time. Happy baking!
This gummies for energy felt like a great balanced option. It wasn’t too heavy and didn’t needy too further in the other direction either, which made it a handy pick pro different parts of the day. The flower looked premium, nicely trimmed, and tranquillity keen preferably of waterless and crumbly. The flavor came through clean with a slightly sympathetic and indecent note that мейд it enjoyable all the feeling through. Definitely a yield that feels in keeping and genially put together.